Photo gallery - Steam trains
Photos of PRR steam locomotive-hauled trains in various locations on the line.

NM25 and its train slowly ease across the original 1878 iron bridge over the Waukarie Creek at Woolshed Flat.
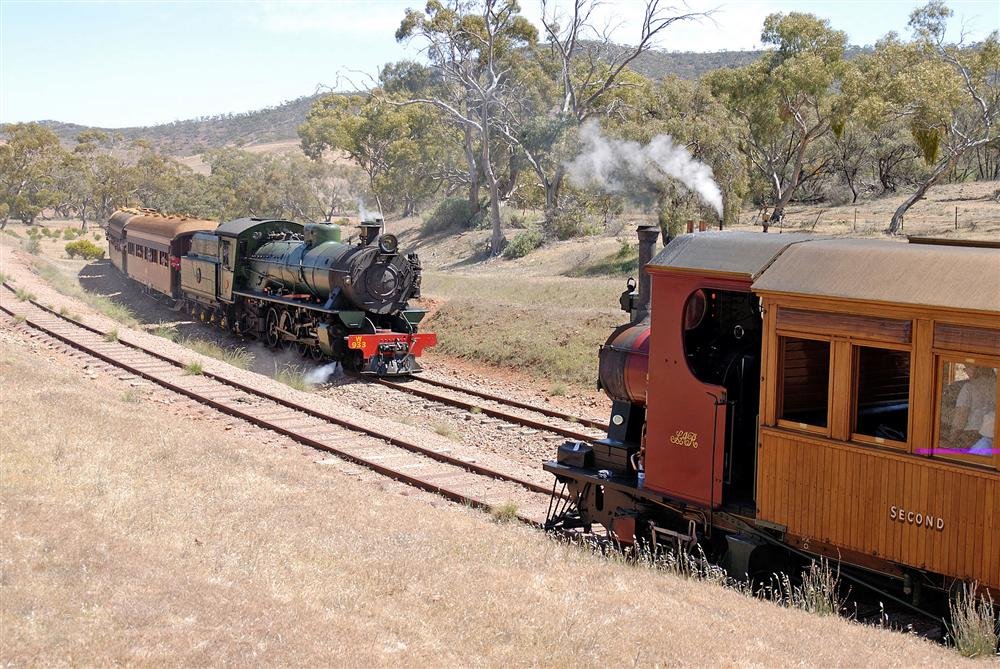
The Coffee Pot waits in the siding at Summit while the Afghan Express steams by.

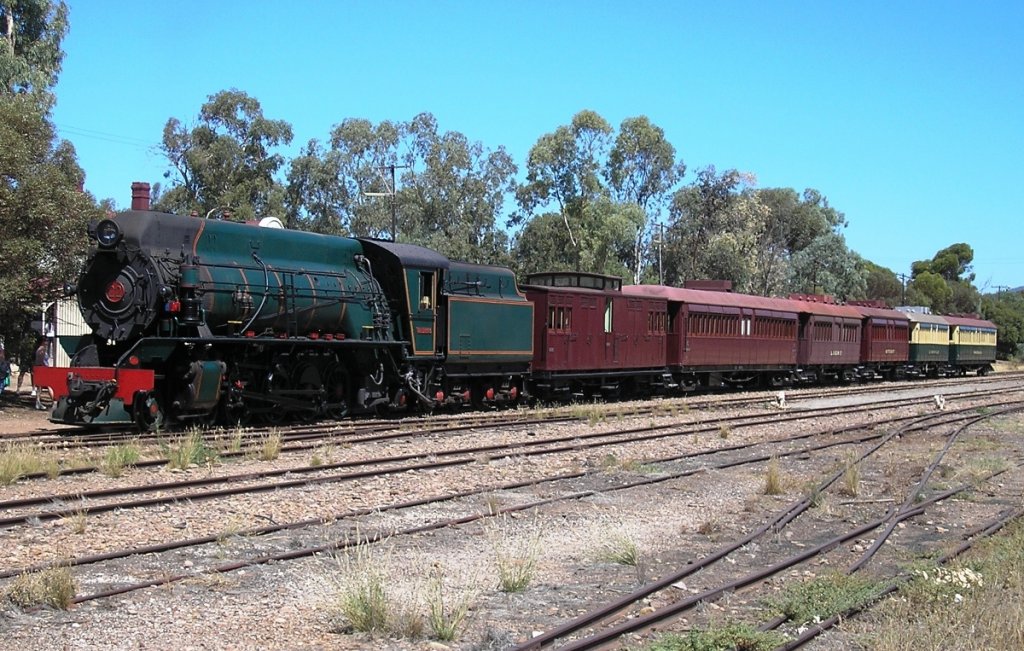
NM25 and the Afghan Express wait to depart historic Quorn railway station.
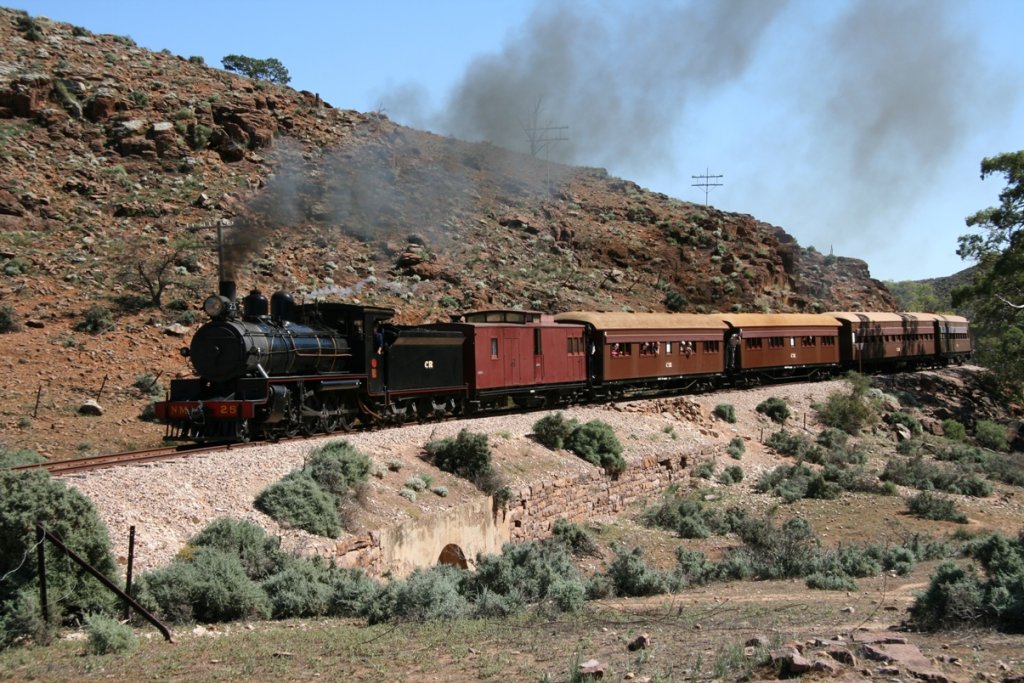
The Afghan Express, with NM25 at the front, traverse the majestic Flinders Ranges scenery.

Passengers enjoy W933 steaming past at a photostop

Looking across the saltbush at W933 on Smokers' Bridge.

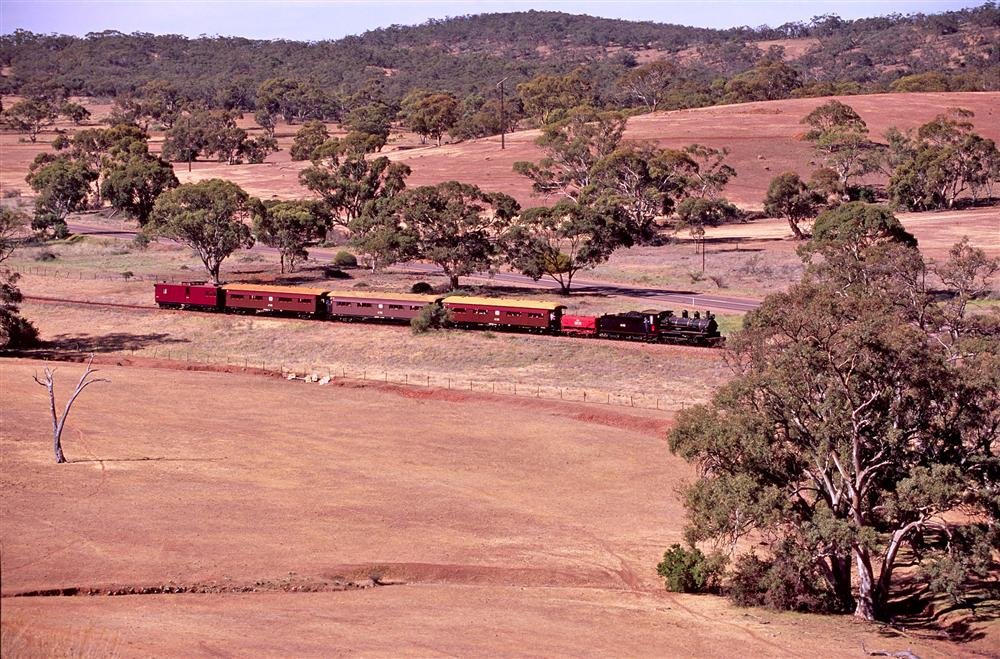
W933 passes a cactus near Stirling North while hauling the "Afghan Express" in 2000.
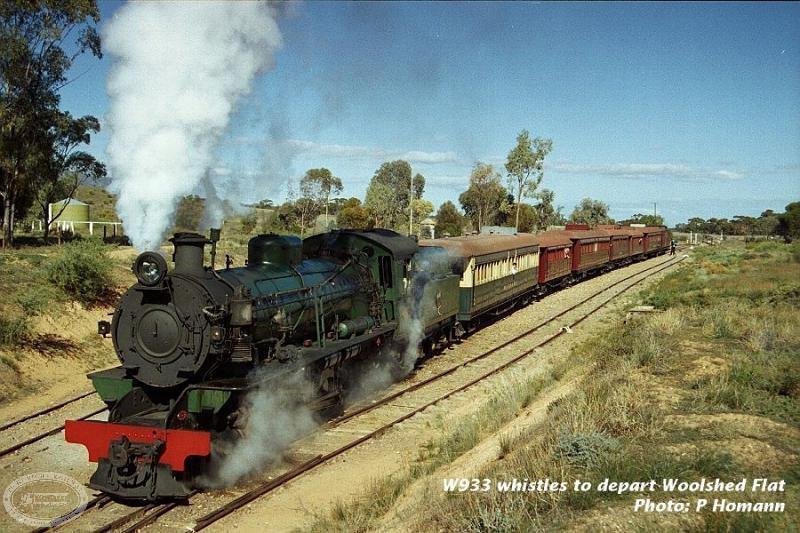
The guard holds the green flag, and W933 whistles for departure at Woolshed Flat in 1998.
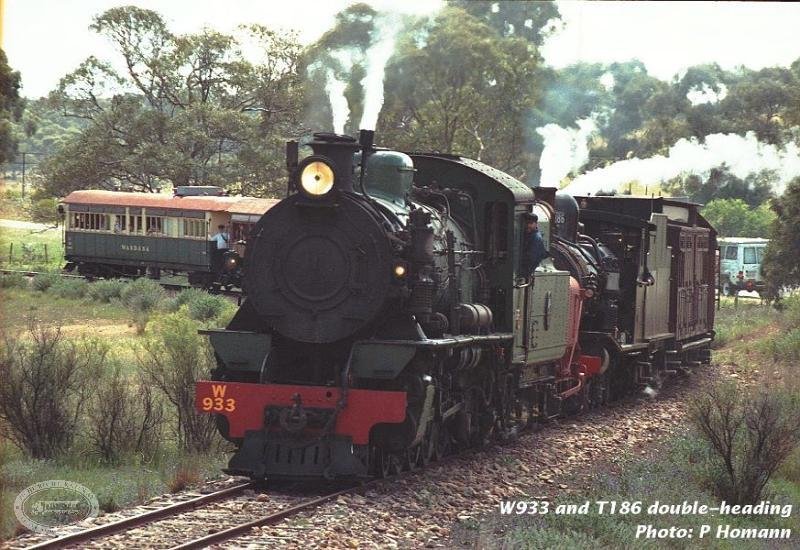
W933 and T186 double head a "Saltia Explorer" near Summit in 1998.
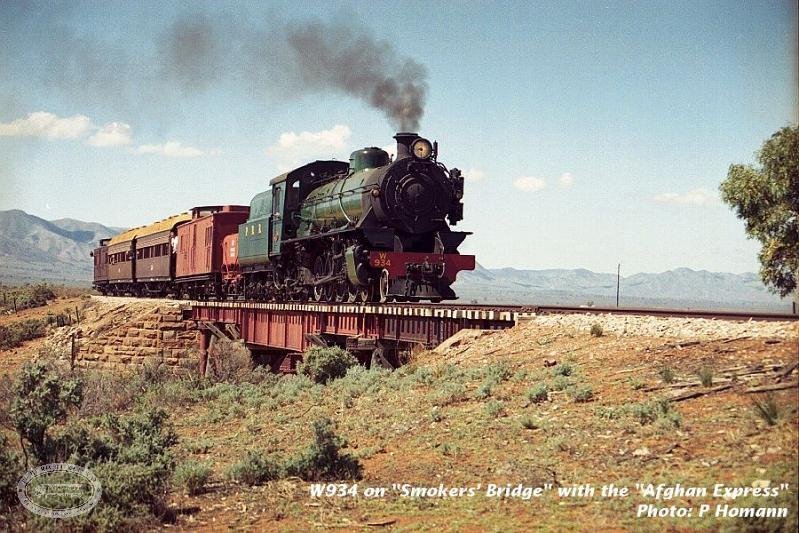
W934 crosses Smokers' Bridge with the "Afghan Express" in April 2000.
W22 arrives at Quorn with a Pichi Richi Explorer.
NM25 with a Marree Mixed arrives late at Woolshed Flat from Port Augusta after steaming problems. This train combines with the Pichi Richi Explorer waiting on the main line for Quorn for the start of the Steam-up weekend.
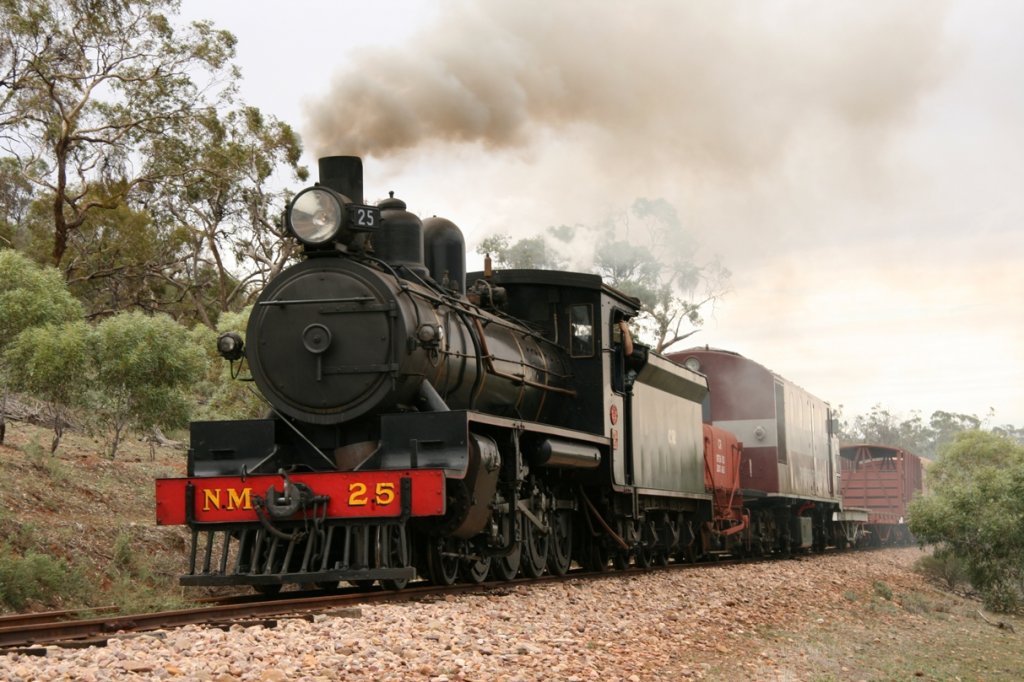
Heading for Port Augusta is NM25 with NSU52 as a dead engine hauling a freight train for the Marree Mixed train the next day.
Afghan Express with NM25 approches Saltia heading for Quorn.

A birds eye view of NM25 at Saltia hauling an Afghan Express back to Port Augusta. Saltia in the early days was a bullock stop town, with a hotel and private school. May 18th 2013.
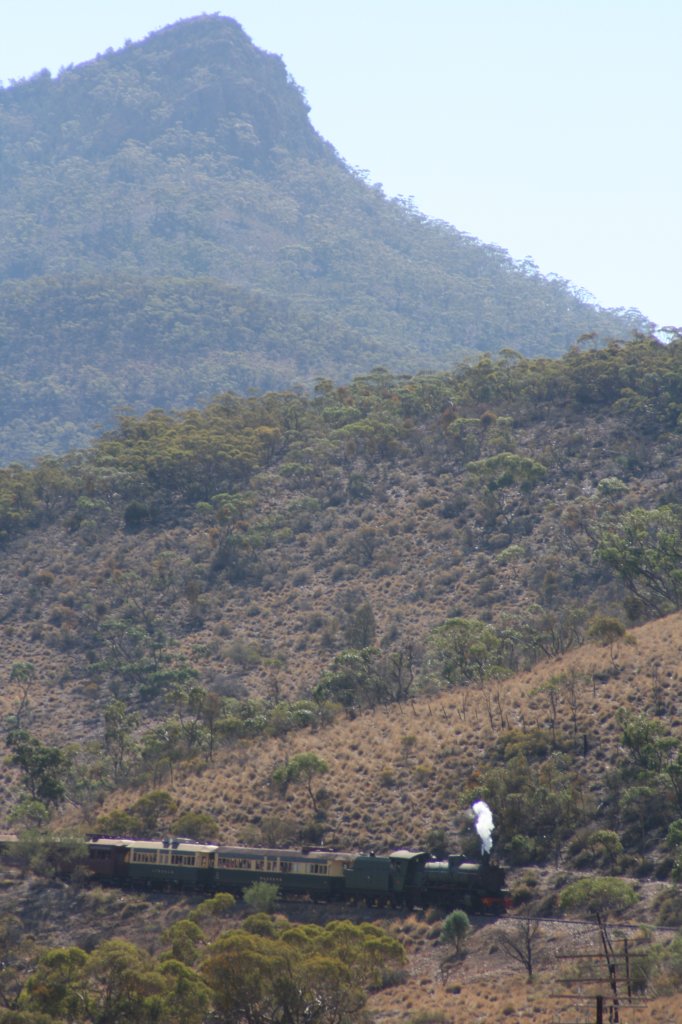
W933 and its train, the Pichi Richi Explorer, is dwarfed by Devil's Peak as it approaches Woolshed Flat on 22 April 2008 (photographer: Gavin Clark)
Powered by Phoca Gallery